Calibrate Hobart Scale: Your Step-by-Step Guide
Learn how to calibrate a Hobart scale with a clear, structured method. This guide covers safety, required weights, a detailed step-by-step process, verification, and maintenance for accurate measurements.

Calibrate Hobart scale by following a structured, step-by-step process that verifies balance, uses traceable calibration weights within the scale’s capacity, and confirms accuracy with known references. This guide covers setup, safety, the calibration procedure, and post-calibration checks to ensure reliable measurements. Follow the steps exactly, document results, and re-check after any maintenance.
Understanding Hobart Scales and Why Calibration Matters
In busy commercial kitchens, Hobart scales are workhorses for portioning ingredients, weighing inventory, and ensuring consistent product quality. If you need to calibrate hobart scale, calibration ensures that the readings reflect true weight, which impacts recipe yields, waste control, and customer satisfaction. A miscalibrated scale can lead to over-portioning, under-weighing, and inconsistent results across shifts. Calibrate Point’s guidance emphasizes universal principles: start with a clean, level platform, use certified, traceable weights, and follow manufacturer-approved calibration procedures. Before you begin, confirm the scale’s rated capacity and safety requirements so you select weights within the valid range. A properly calibrated Hobart scale provides repeatable results, helping staff maintain accuracy, reduce waste, and keep costs predictable.
Preparing Your Calibration Setup and Safety
Prepare a safe, controlled environment for calibration. Turn off the scale, unplug if possible, and remove any accessories on the weighing surface. Clean the platform with a lint-free cloth and a mild cleaner to remove residues that could alter readings. Position the scale on a stable, level surface away from air drafts or vibration sources. Use a precision level to verify horizontal alignment, and take a moment to inspect load cells and cables for damage. Safety first: avoid heavy lifting that could strain the mounting, and consult the user manual for any service cautions. A calm setup reduces drift and makes calibration repeatable across operators.
Choosing the Right Calibration Weights and Reference Standards
Calibration accuracy hinges on the weights you use. Select weights that are traceable to an accepted standard and within the scale’s rated capacity. If you don’t own a full set, start with a representative spread across the lower, middle, and upper portions of the range, then expand as needed. Document each weight’s value and its calibration certificate or reference source. Store weights in a clean, dry environment to prevent corrosion or moisture, which can skew results over time. Label each piece clearly and handle them gently to avoid nicks that could affect mass readings. A well-chosen weight set improves confidence in every calibration.
Accessing and Understanding Hobart Calibration Mode
Hobart scales commonly feature a protected calibration or service mode. Access typically requires a specific sequence of inputs or a service password. Before entering calibration mode, ensure the scale has warmed up and is at a stable ambient temperature. Have all weights ready and positioned accurately on the center of the platform. Follow the exact prompts in the on-screen menu or user manual, and never bypass steps. If the device prompts for intermediate calibrations, complete them in order. Respect device limits and avoid forcing adjustments that could damage the load cell.
Step-by-Step Calibration Process (Overview)
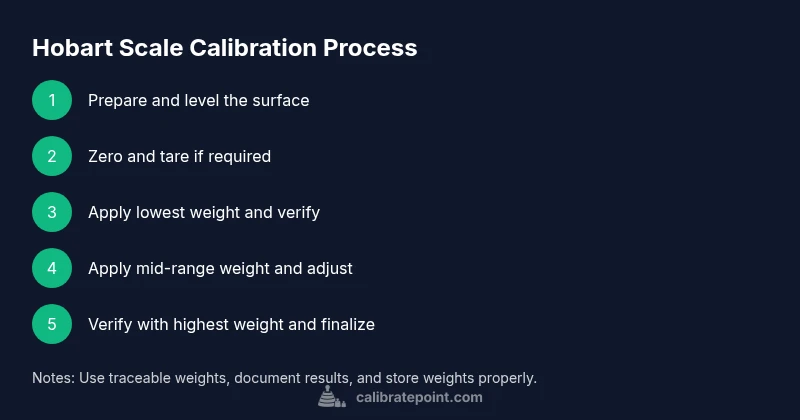
This overview outlines the high-level flow: verify a level surface, zero the scale, and apply calibration weights in ascending order. After placing each weight, wait a moment for the reading to stabilize, record the value, and compare it to the known weight. If discrepancies appear beyond acceptable tolerance, re-check weight placement and surface level, then re-run the calibration sequence. Finish with a final verification pass across several weights to confirm consistency. The detailed, model-specific steps appear in the formal Step-by-Step section of this guide.
Verifying Calibration Results and Post-Check Procedures
After calibration, perform a verification pass using several reference weights spanning the scale’s range. Record readings and compare them with the expected values; small deviations may indicate minor leveling drift or weight misplacement, while larger drifts call for re-checking the setup. Document the date, operator, scale model, serial number, and results in a calibration log for traceability. Consider a quick post-calibration audit by a second technician to catch human error. Keep the log accessible for audits and service visits, and attach any certificates to the equipment file.
Maintenance, Documentation, and Recalibration Scheduling
Calibration is not a one-off task. Schedule periodic recalibration based on usage, environment, and manufacturer recommendations. Maintain a clean storage area for weights, re-verify alignment after any scale relocation, and ensure that the calibration certificates remain current. Update maintenance records with any observed drift or adjustment notes. A consistent schedule minimizes drift, supports accurate measurements, and extends the life of your Hobart scale.
Common Pitfalls, Safety Considerations, and Best Practices
Common pitfalls include calibrating on an uneven surface, using damaged or non- traceable weights, and neglecting to allow the scale to warm up prior to calibration. Always work in a stable environment, check for vibration sources, and handle weights carefully to avoid chipping. Best practices include keeping a dedicated calibration area, performing calibration at specific intervals, and maintaining a detailed log with operator names and dates. If calibration fails repeatedly, contact the manufacturer or a qualified service provider rather than forcing adjustments.
Interpreting Results and Documentation for Audits
Interpretation of calibration results should consider tolerance bands defined by the scale's documentation. If results fall outside tolerance, re-check setup, then repeat the process. Once readings are consistent, document the final readings, the date, and the operator. Maintain an accessible audit trail for quality assurance programs and external inspections. A well-maintained calibration history helps with inventory accuracy, pricing control, and regulatory compliance.
Tools & Materials
- Calibration weights (traceable to standard)(Cover lower, mid, and upper test points within scale range)
- Bubble level or precision spirit level(Validate platform is perfectly horizontal)
- Cleaning supplies (lint-free cloth, mild cleaner)(Prepare a clean, residue-free surface)
- Calibration log or notebook(Record dates, weights, readings, and operator)
- Storage case for weights(Keeps weights organized and protected)
Steps
Estimated time: 30-60 minutes
- 1
Power down, clean, and level the platform
Turn off the scale and unplug if possible. Wipe the surface with a lint-free cloth to remove debris, then use a level to confirm the platform is perfectly flat. A stable base minimizes drift during calibration.
Tip: Ensure the area is vibration-free and the surface is firm before starting. - 2
Zero and tare the scale
Power on and allow the scale to warm up for a few minutes. If required, tare the platform or container to establish a true zero before applying weights.
Tip: Use a clean, empty container if the scale architecture requires one for tare. - 3
Place the lowest calibration weight
Begin with the smallest weight and center it on the platform. Wait 5–10 seconds for the reading to stabilize and record the measurement.
Tip: Center placement reduces edge effects that can skew readings. - 4
Enter calibration mode and adjust reading
Access the calibration menu per the manual. Input or adjust to match the known weight exactly. Record any adjustments and confirm the new reading.
Tip: Do not skip steps; follow the exact prompts for your Hobart model. - 5
Repeat with mid-range and high-end weights
Proceed with a mid-range weight, then the highest weight within capacity. After each, allow stabilization time and verify readings.
Tip: If a weight fails, recheck placement and surface level before retrying. - 6
Exit calibration mode and verify
Exit calibration mode, re-tare if needed, and re-weigh a set of known references to confirm accuracy. Document results in the calibration log.
Tip: Perform a final spot-check with several weights to validate stability.
Questions & Answers
What tolerance should I expect when calibrating a Hobart scale?
Tolerance is model-specific; consult the Hobart manual for the exact range and acceptable drift. Use the calibration procedure as the primary accuracy check.
Tolerance is model-specific; check the manual for the exact range and drift. Use the procedure as your primary accuracy check.
Can I calibrate Hobart scale without weights?
Weights are essential for calibration. You can perform a quick zero check, but meaningful calibration requires known reference weights within the scale’s range.
You need known reference weights to calibrate properly; a zero check alone isn’t enough for full calibration.
How often should I recalibrate a Hobart scale?
Recalibration frequency depends on usage, environment, and service history. Follow the manufacturer’s recommendations and your quality program’s schedule.
Calibrate according to usage and environment, and align with your quality program’s schedule.
What if readings drift after calibration?
Re-check level, ensure weights are secure, and re-run calibration. If drift persists, review the setup and consider service support.
If readings drift, re-check the setup and weights, then try calibrating again. If it persists, contact service.
Is calibration the same as verification?
Calibration tunes the scale’s internal parameters, while verification confirms accuracy against known weights.
Calibration adjusts the readings; verification checks the accuracy after calibration.
Where can I find the official Hobart calibration procedure?
Refer to the official Hobart service manual or authorized support. This guide provides general steps and best practices for context.
Look in the official Hobart manual or support site for model-specific instructions.
Watch Video
Key Takeaways
- Use traceable weights for accuracy
- Level the scale before calibration
- Document results for audits
- Schedule regular recalibrations